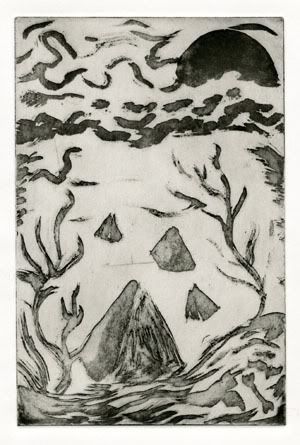
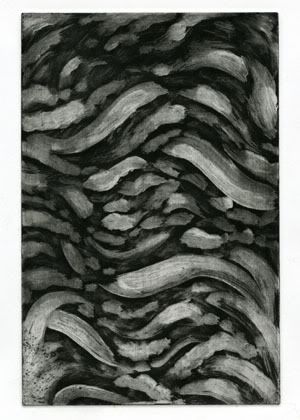
My white ground test came out much better, and I'm planning on using it for my large plate to create a background texture.
The actual process for both of these techniques is described below along with the recipes.

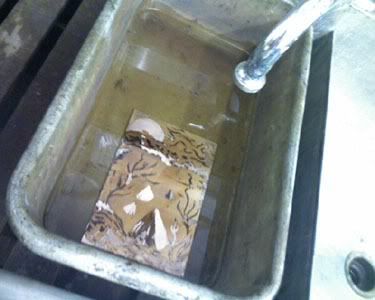
Soaking the plate to dissolve the sugar lift

White ground print

Jake was kind enough to provide recipes for the processes we're using this semester, for future reference. Below you'll find instructions for making sugar lift and white ground.
Sugar Lift (Lift Ground) Recipe
2 cups karo syrup
1 cup india ink mixed with black poster paint, and pink hand soap or a little detergent
Clean the glass and plastic containers well (i.e. remove sticky stuff from around the rim of the glass jar and the plastic squeeze bottles that you will be storing the mixture in). Mix all ingredients well. Test out the mixture on a piece of copper. If it beads up, add more detergent and/or a little bit of water.
Thinning the hard ground that goes over the lift ground:
1 part hard ground
1 part naptha
How to do it:
1. Degrease the plate.
2. Aquatint the plate.
3. Paint the sugar lift on with a brush or apply with a squeeze bottle. Let it dry.
4. Apply hard ground (thinned with naptha) with a clean, wide brush. Let it dry.
5. Soak the plate in warm water in a tray for 20 minutes. Be patient. Allow the sugar lift to break through the ground. Do not scrub. If it doesn't lift, allow a stream of hot water from the spigot to go through the water bath onto the plate.
6. When drawing has lifted, bite to black (10-15 mins), or you may do stepped biting.
7. Clean sticky brushes, squeeze bottle and jar with water. Clean ground off plate after biting and before printing.
White Ground (Soap Ground) Recipe
This is a partial resist technique for ghostly, washy tones.
1 cup titanium white pigment
2 cups Ivory Snow (a type of detergent)
1/2 cup raw linseed oil
1 cup water
Put the titanium pigment on to a glass table top, then add the detergent. Mix them together with an ink knife. Form it into a mound with a little crater in the middle. Slowly drizzle linseed oil slowly into the mixture and mix it thoroughly so you can't see any more oil. Add the rest of the oil a little at a time. Do the same with the water--add a small amount at a time and mix very thoroughly. Put it in a glass jar with a tight lid. Stir before using. Add water if it's too thick.
How to do it:
1. Degrease the plate.
2. Put a spoonful of white ground on a sheet of wax paper. Have some water and a chinese brush handy. Mix white ground so it is a creamy consistency and paint it freely on your plate. Thinner white ground will produce darker greys, thicker amounts with produce lighter grays. You may brush, drip, or splatter the ground.
3. You can build layers of white ground, but you must dry each layer before proceeding by putting it on a warm hotplate. You may remove the ground with a rag or thin it with a spray water bottle at any point.
4. If you want a black line, take the edge of a piece of cardboard or the end of a paintbrush a draw through the ground.
5. Aquatint the plate.
6. Let the plate sit overnight. Otherwise, some of the ground with float off when you bite it.
7. Bite the plate to black (10-15 mins).
8. Clean brushes. Clean ground off plate after biting and before printing.


mmm sugar <3
ReplyDelete